Without Code - 10 New Features You May Have Missed

In just six short months since launching Without Code we’ve introduced a huge quantity of new themes and widgets, in addition to powerful functionality updates to our core website builder, Architect. These updates are typically shared through our newsletter and social channels, but occasionally there are smaller features or changes to the interface that aren’t as widely promoted. As busy designers, it’s your job to keep designing beautiful sites for happy clients – we’ll look after keeping you informed and up to date on the latest and greatest!
This feature round-up takes a look at both the major and lesser known improvements we’ve made in recent months to Architect. We believe these additions help to make designing websites in Architect faster and more powerful than ever before. Here we go!
1. Inner Rows
One of the biggest structural changes to the Architect builder to date, this feature allows you to create “rows inside rows,” which opens the door to creating highly complex layouts with a wide variety of design opportunities. Additionally, we’ve built five beautiful new sections with a variety of layouts featuring Inner Rows.
To Use:
Open any row’s context menu, then Add > Inner Row. To use the new sections, hover over the “plus” icon at the bottom of a row until it says “Add Section.”

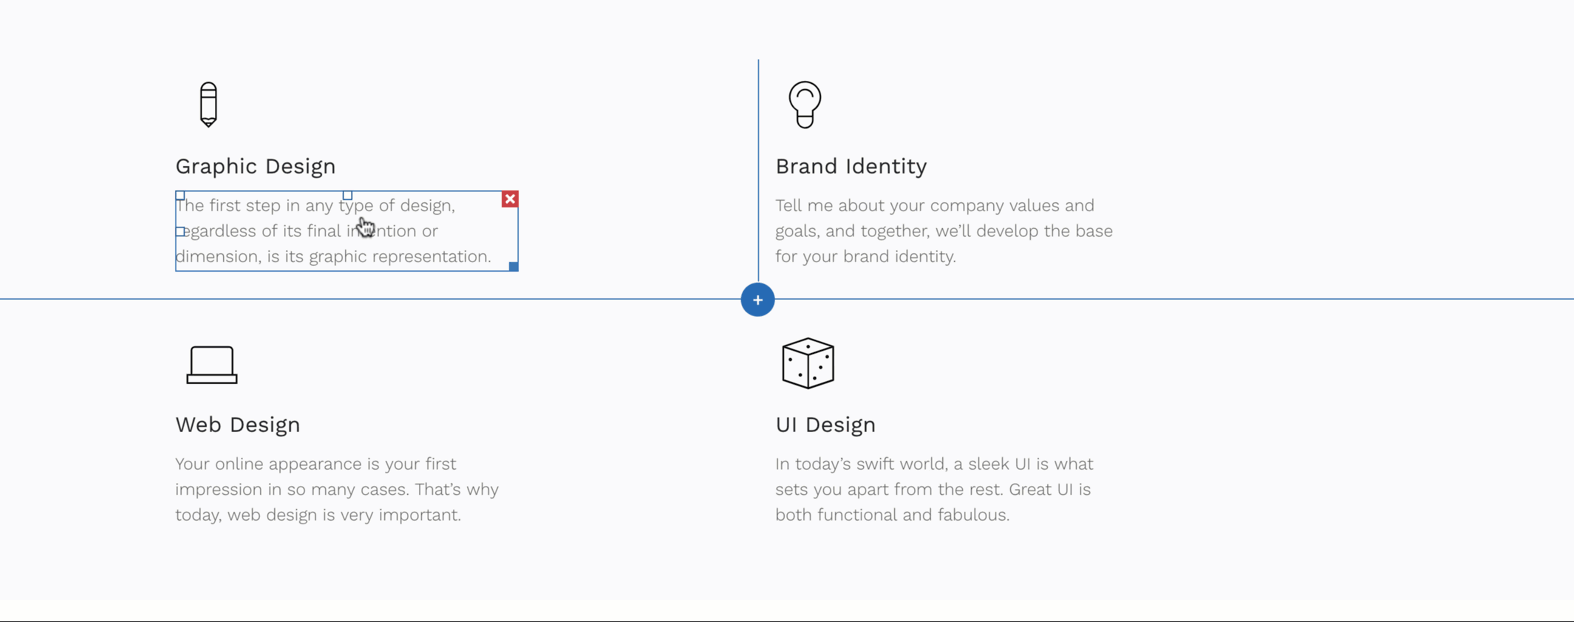
2. Add Widgets Inline / Clear Padding
We’re always aiming to improve the user interface in our builder, and ensure the options you need are easy to find and use. You can now add widgets more accurately by taking advantage of the improved context menus in the builder – no drag and drop required! We’ve also added a “clear padding” option directly to context menus to simplify the process of removing excess spacing.
To Use:
Right click (or command click) on any widget or column, and select “Add Widget Below”. Select from a commonly used widgets list, or select “More Widgets” to view the full list. The widget will be placed immediately below the element you clicked on. The “Clear Padding” option is also available directly in the new context menu.
3. Custom Navigation Links
Freedom to place custom built nav menus wherever you like is now here. The Navigation Content Editor uses “Custom links,” which allow you to choose exactly what links you want to display in a navigation menu. Select as many pages, anchors or external links as you like (or as few as you like). Custom built navigation menus can be placed anywhere on a page; this allows for things like sub-level navigation in sidebars, single pages, or unique footer navigation.
To Use:
Drop the Navigation Links widget on a page, and select “Custom links.”

4. Premade FAQ Sections
Do you use the Sections feature in Architect? If not, you may be missing out on a great tool for speeding up build times and boosting style on your site. We’ve added a new category to Sections, loaded with several gorgeous pre-styled FAQ’s. Featuring our new Accordion widget, these sections provide great ways to present content-rich information such as Q&A’s, services and events.
To Use:
Hover over over the “plus” icon at the bottom of a row until it says “Add Section.” Select the FAQs category in Section Mode.

5. Connected Data
An experimental and exciting new feature, Connected Data helps to improve consistency across your site and improve your build times. Content entered into your Content Library – such as business info, text, logos and images – can be connected to widgets using the widget’s context menu. All widgets containing data connected to the Content Library will be updated site-wide any time Content Library data is updated. For example, if your client changes their logo, a simple update in the Content Library will update all instances of the logo throughout the site with widgets utilizing Connected Data.
We plan to expand on this feature to allow users to change site themes while retaining their existing content. Stay tuned for more!
To Use:
Create a “Content Collection” within your content library, such as a selection of images for a specific gallery, then use the “Connect to data” command in the context menu of supported widgets.

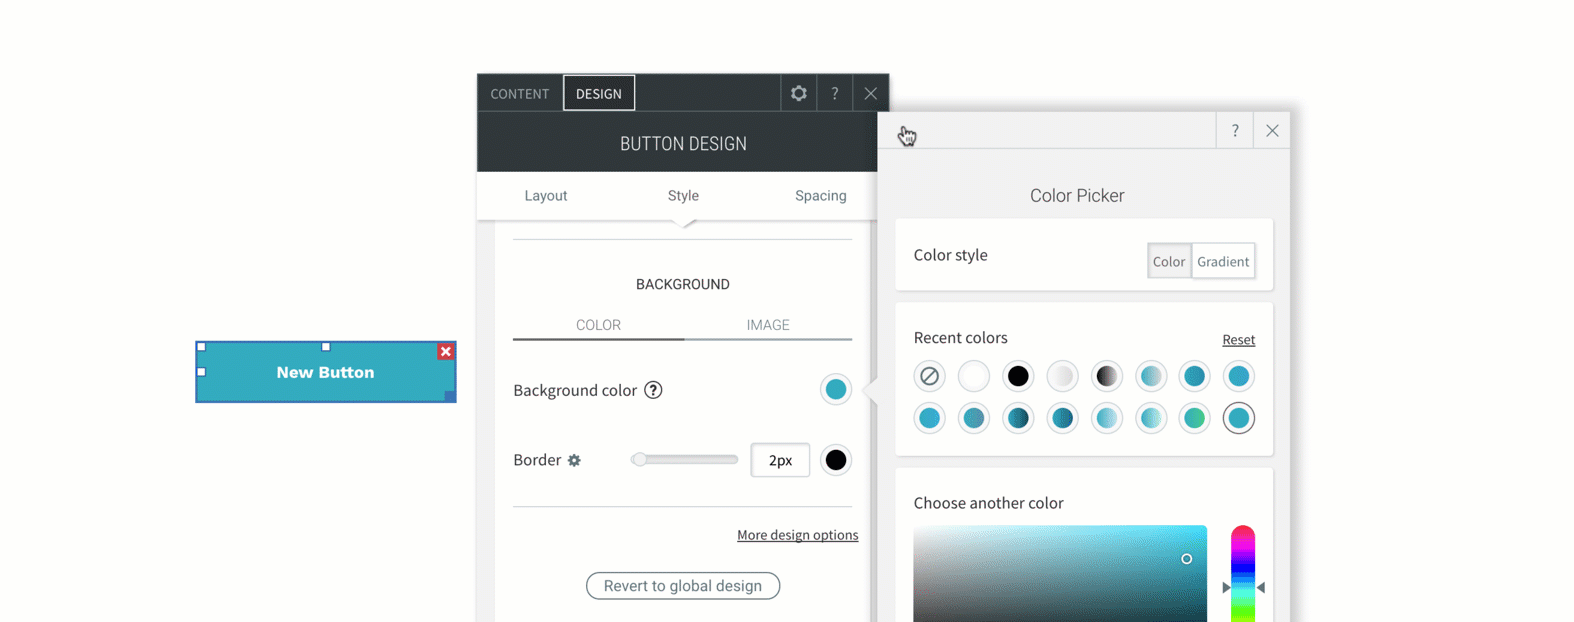
6. Color Gradients
Gradients are a great way to add a splash of color and interest to your site! Vivid, contrasting color gradients can draw attention to buttons, or create atmosphere in backgrounds. Customization options allow you to set the colors you like, control gradient direction, and choose color percentages; you can even apply gradients to image overlays!
To Use:
After opening the color picker on a supported element such as a button or row background, click the gradient color style.
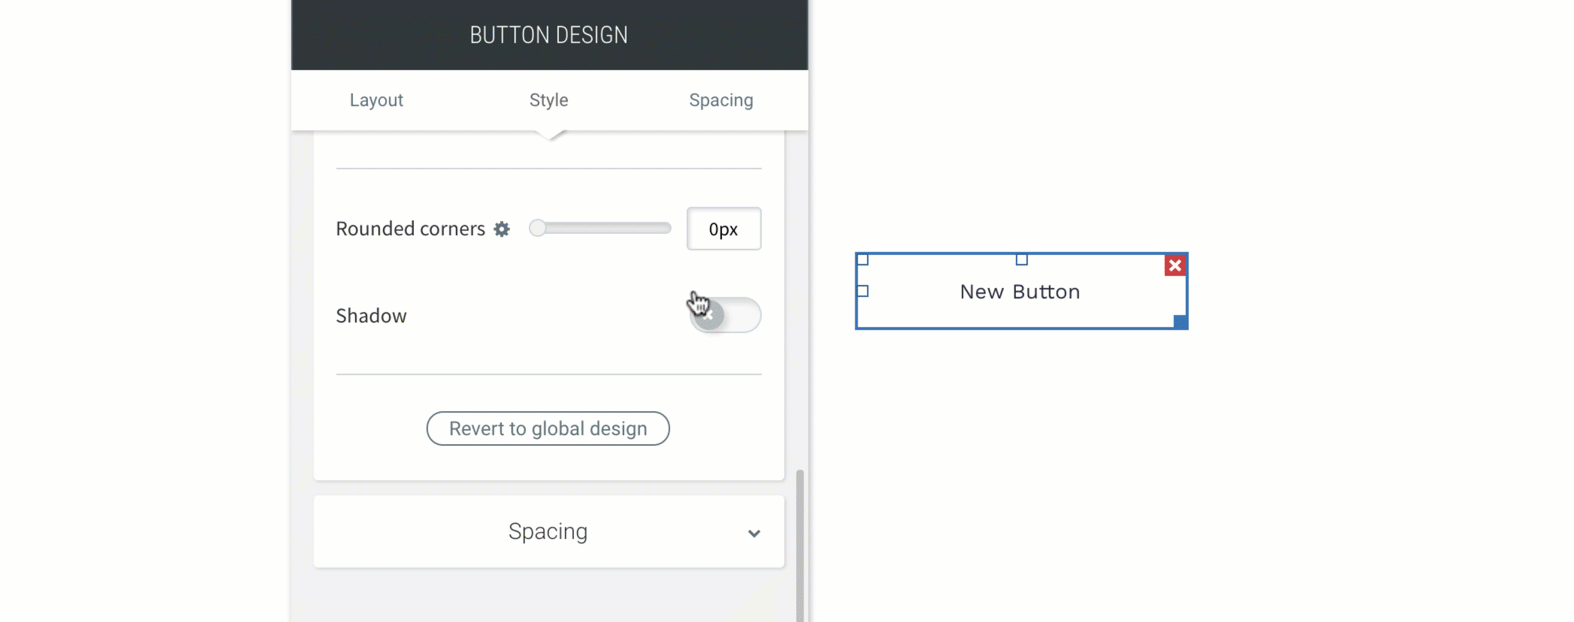
7. New Shadow Controls
We’ve built in some powerful new controls that allow for fine tuned control over element shadows. Subtle use of shadows enhance page designs, and provide a realistic 3D appearance. Customization options allow for control over color, opacity, inner/outer shadow and position.
To Use:
Open a widget’s menu, then: Design section > Style tab > Shadow (you may need to click “More design options” if you do not see the Shadow option initially).
8. 21 New Fonts
We’ve added 21 great new fonts to the library, guaranteed to load quickly and display perfectly. The new fonts range from sophisticated to creative to fun, and bring our total available font count to 160! And before you ask, the ability to integrate a custom font of your choosing is definitely on our list for future developments.
To Use:
Simply click the font selector in any widget. Be sure to set your fonts globally first to speed up your build time: Design > Global Text.
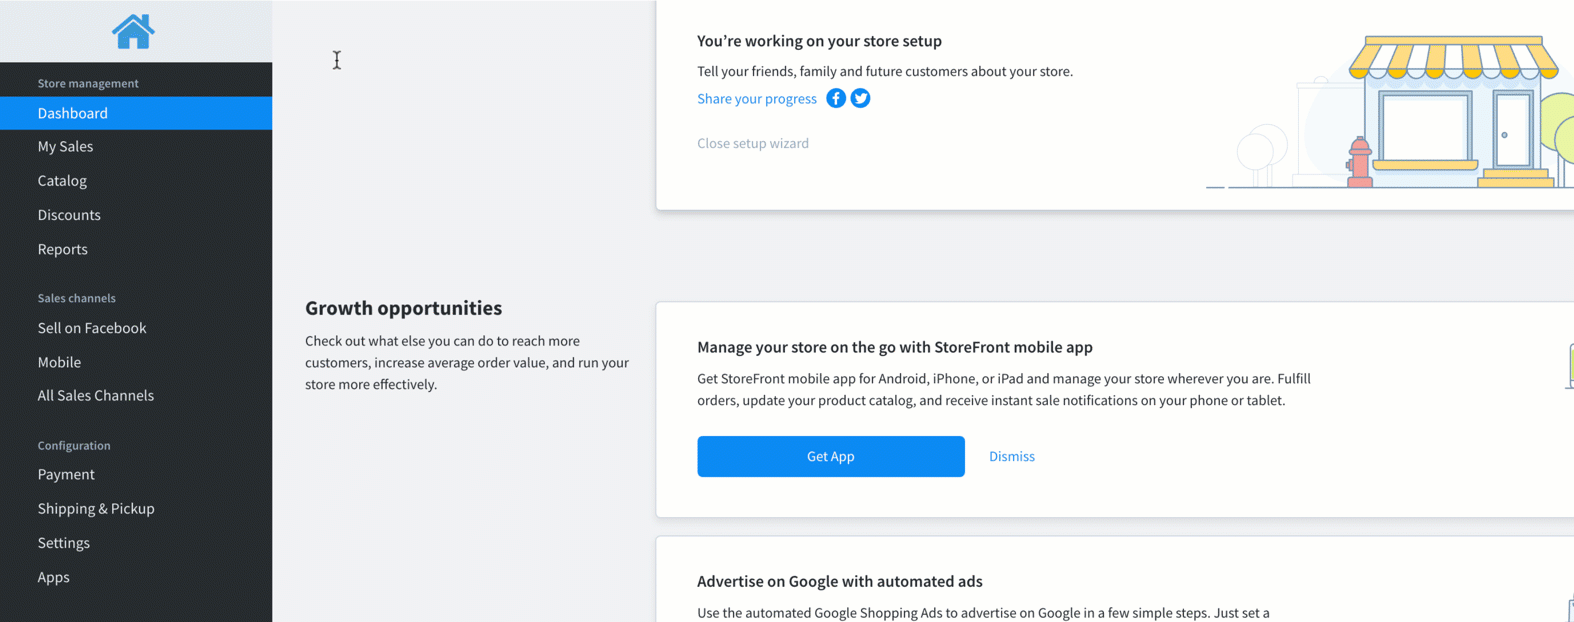
9. Sell on Instagram
Showcase your products in front of millions of potential new customers shopping for new products on Instagram using this new ecommerce feature. Mobile shoppers across 44 countries around the world can shop your products and link directly to your store – an easy way to boost sales, increase traffic, and upsell client sites! Available in 100 product stores (and up).
To enable this feature, your customers must have a product catalog on their Facebook page, since that’s where Instagram goes to grab the product feed.
To Use:
Open your store page, then: open the main store widget (Store Design) > Manage Store> Click or hover over “All Sales Channels” (megaphone icon) > Sell on Instagram.
10. New Templates & Landing Pages
If you weren’t looking, you may have missed one of many new templates and landing pages
now available in Architect. In our template chooser, look out for our latest themes: Church, Musician, Architect, Workspace, Gardener, Personal Coach, Tattoo Studio, as well as two new Blank options.
We’ve also added three new landing pages to your theme selection. These smart and focused templates are designed to convert site visitors into customers as quickly as possible, and help collect signups, increase reservations, attract shoppers and more. Single page sites allow designers the ability to present only what’s necessary, making a clear impression on users of the site.
To Use:
At wocode.com, navigate to Website Builder > Templates > Single Page.

More from Without Code
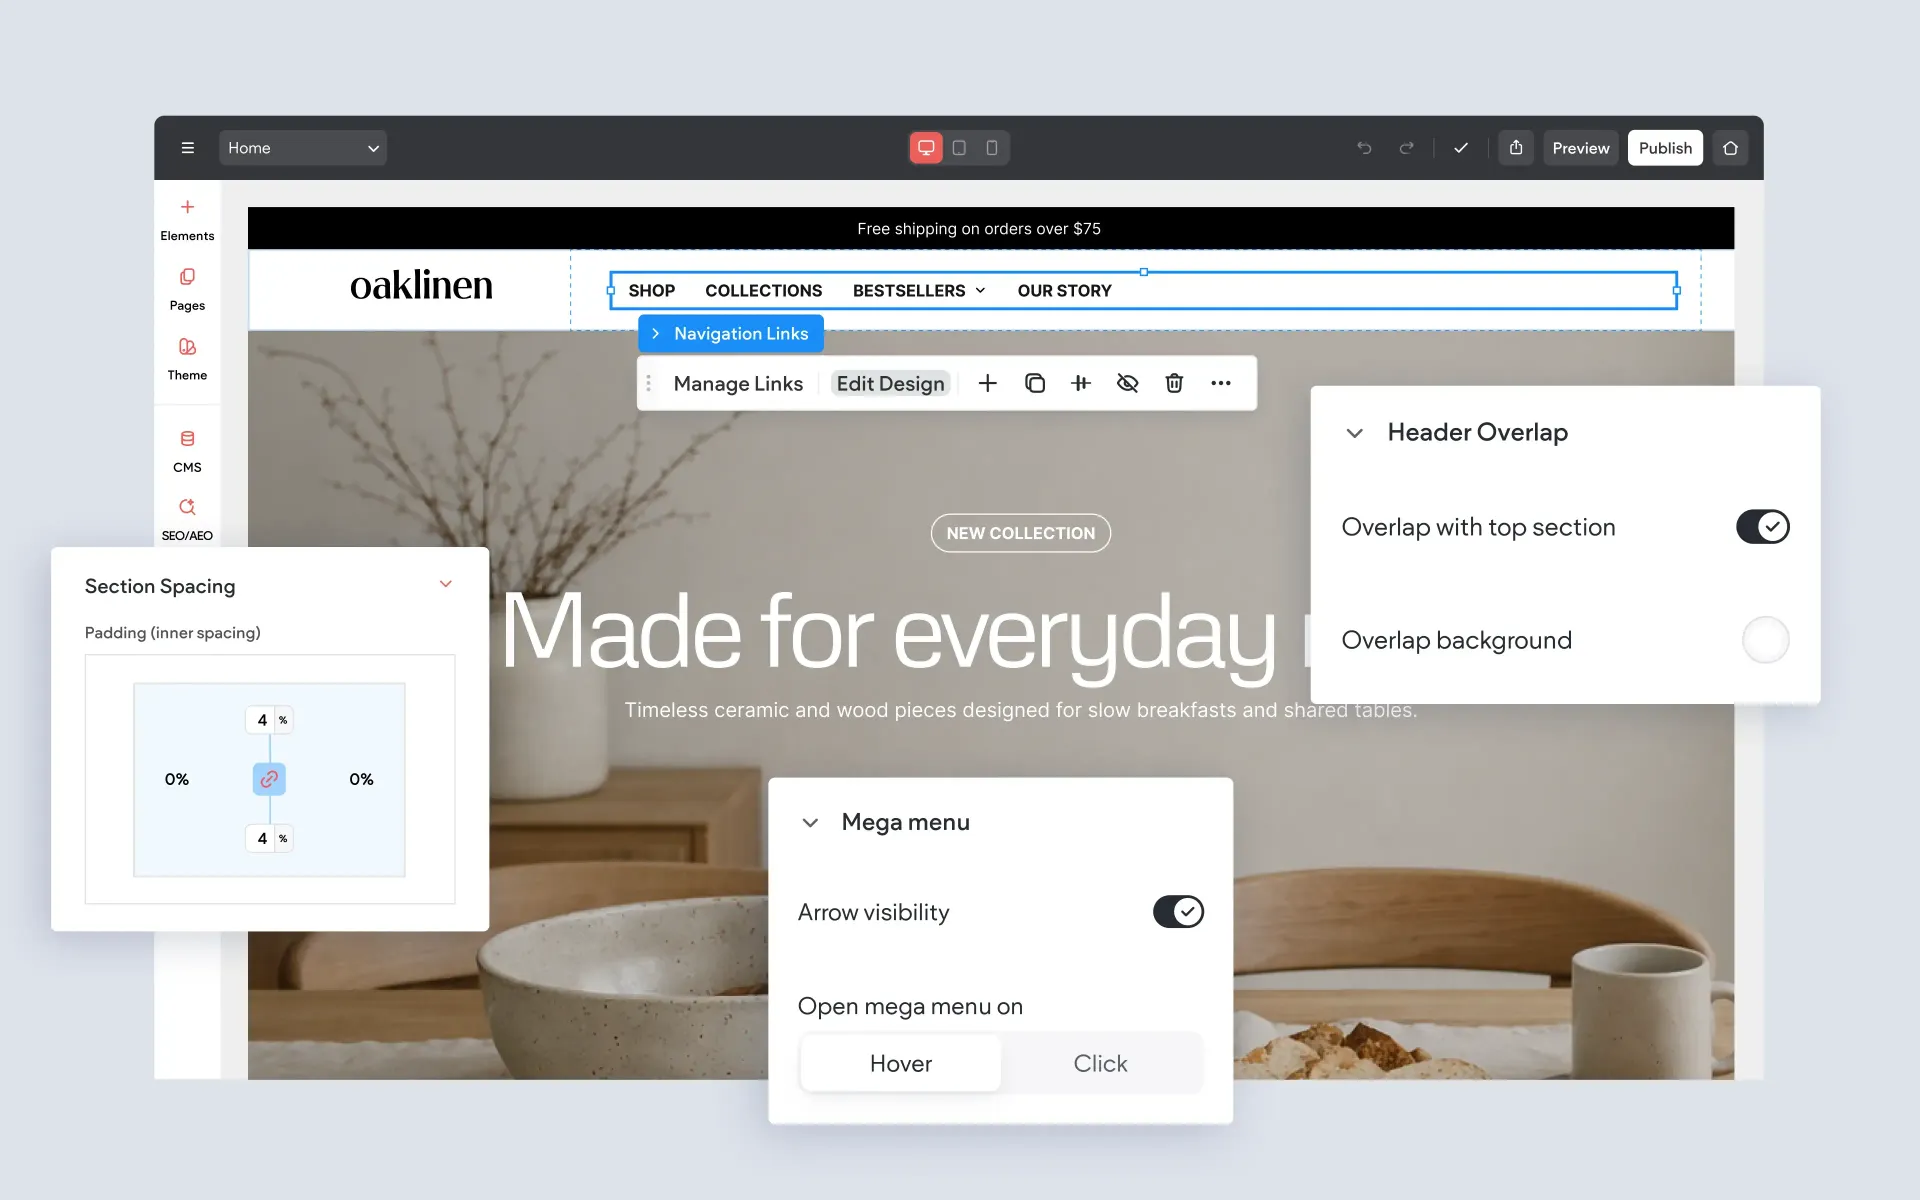
Preview the latest improvements for headers, spacing, visibility, mega menus, section browsing, and responsive controls, including new ways to hide headers and footers, create overlapping header effects, manage element visibility, and fine-tune spacing across screen sizes.
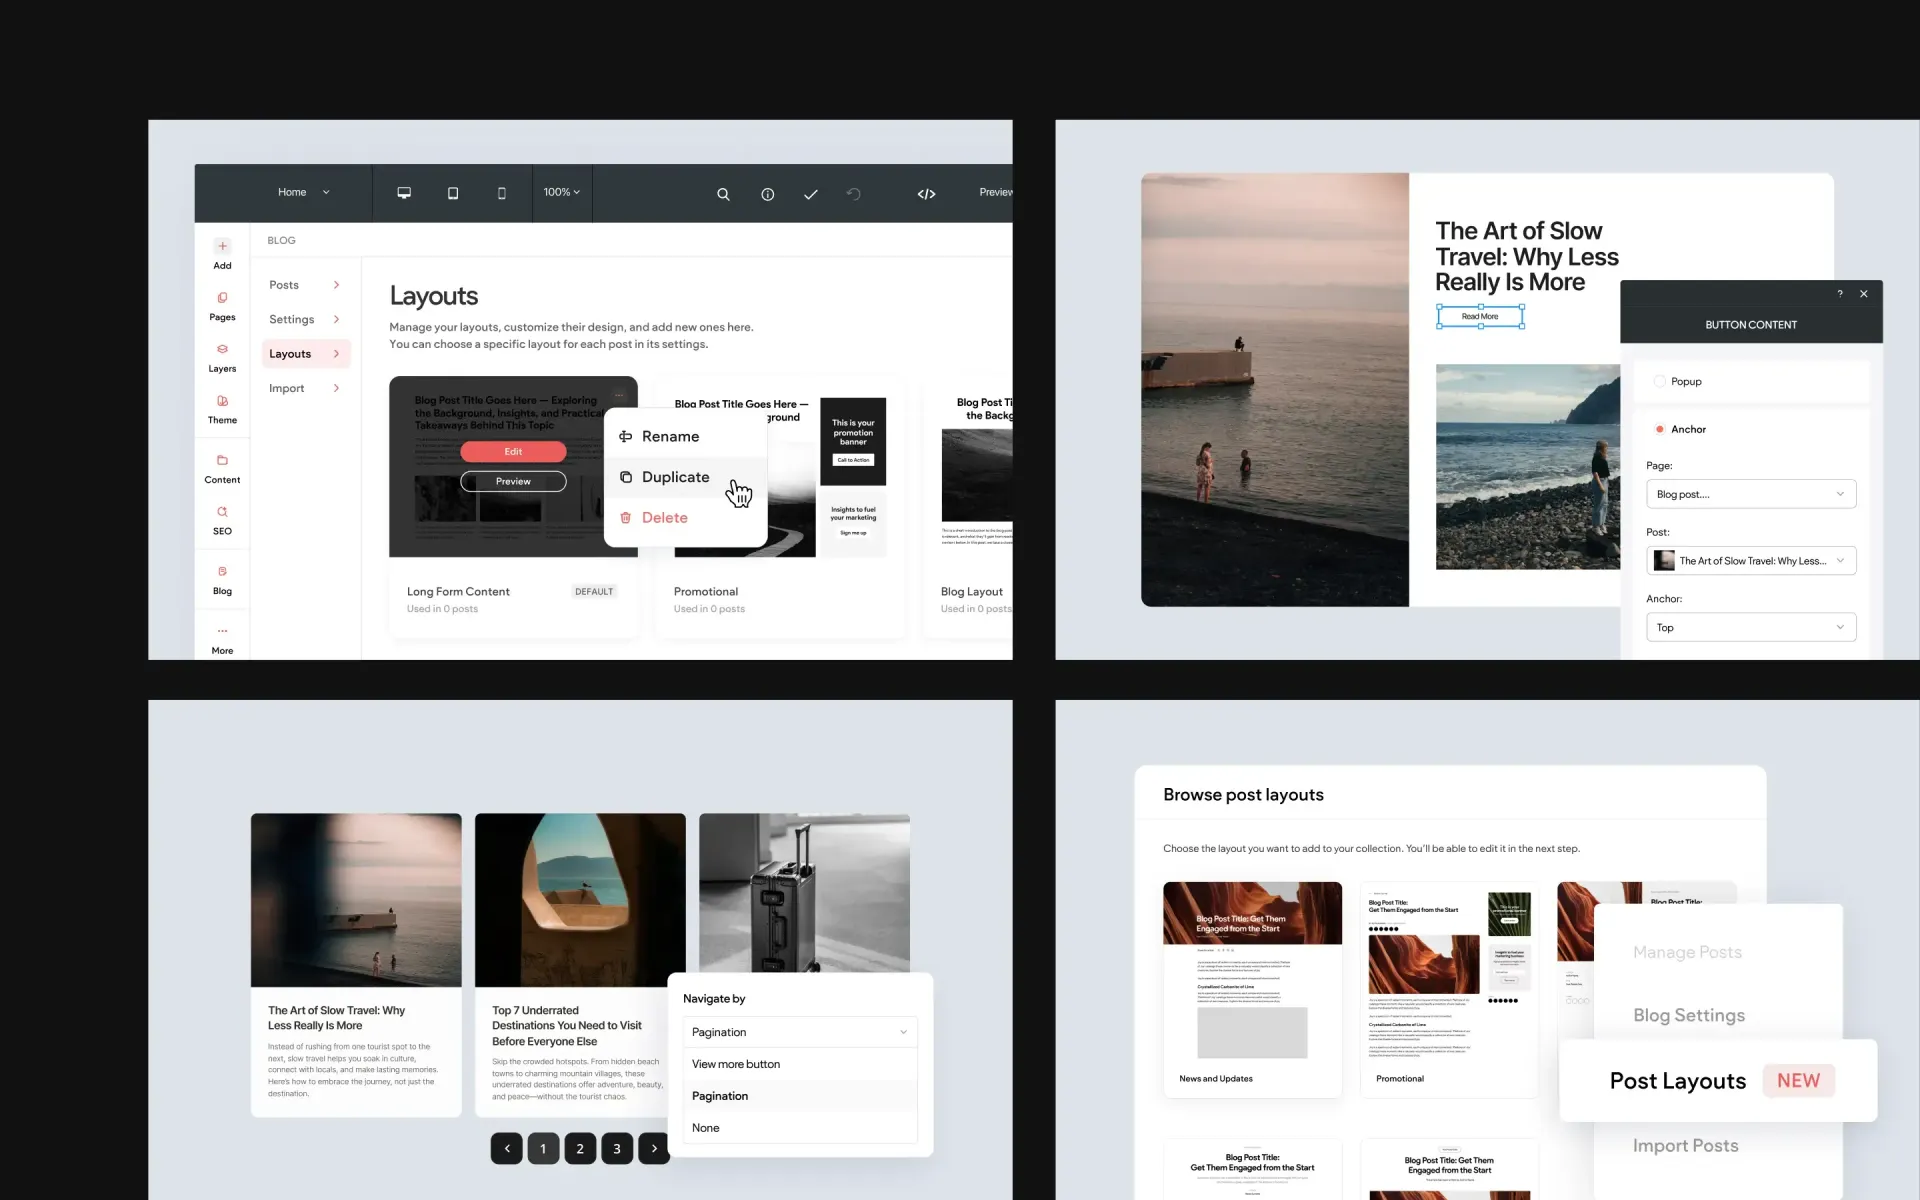
New blog updates in Without Code let you create and save layouts, generate posts with AI, improve navigation, and guide readers through your content using the All Posts widget. You’ll find details here on what’s new, along with helpful information on how to start using these features.
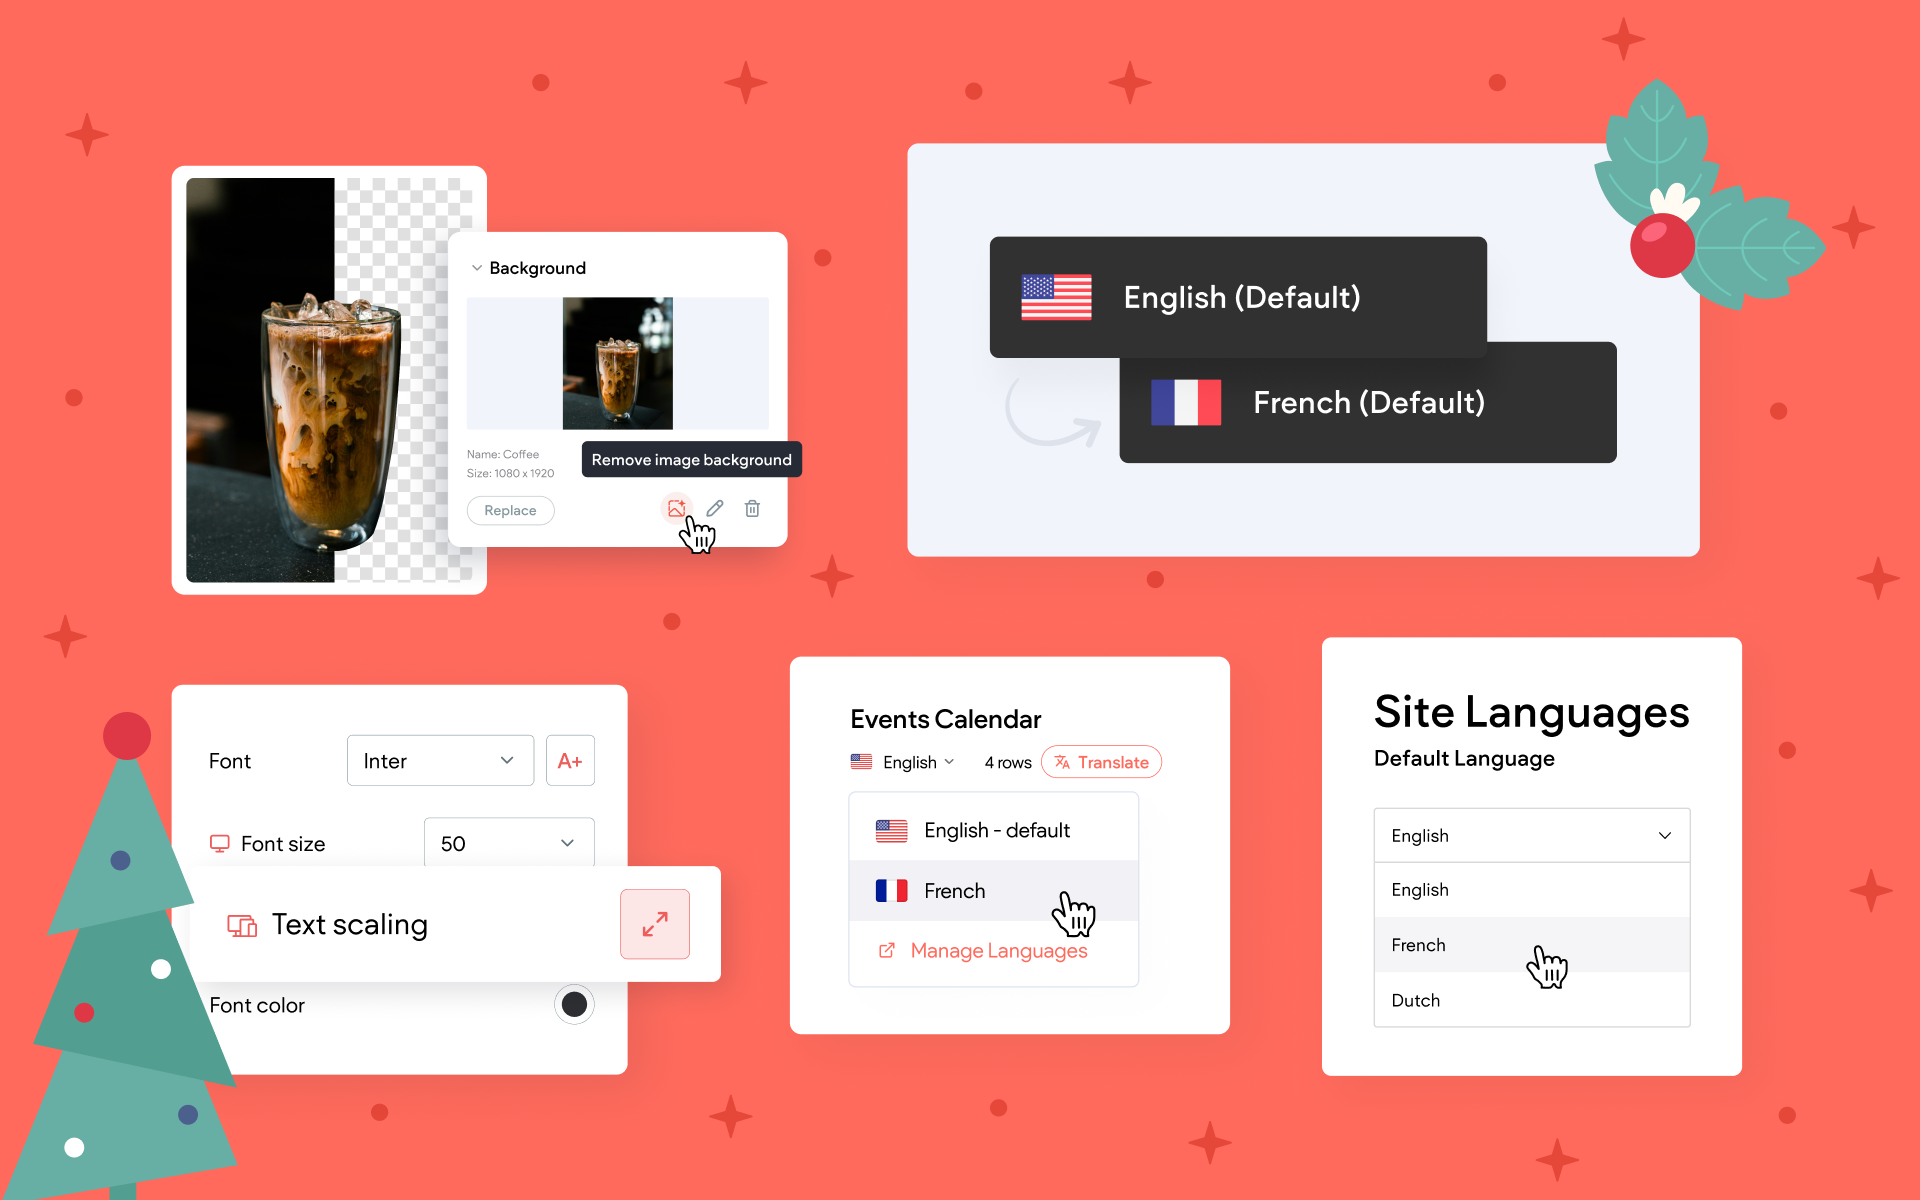
As we wrap up the year, we’re rolling out a new set of editor improvements to help make your builds faster and more flexible. This post walks through what’s been updated and highlights how these changes can smooth out your day-to-day workflow.
Hosting prices for Without Code will be updated in early 2026. You’ll find details here on the upcoming change, along with helpful information about what to expect as we move forward with the update and continue improving the Without Code platform for our customers.